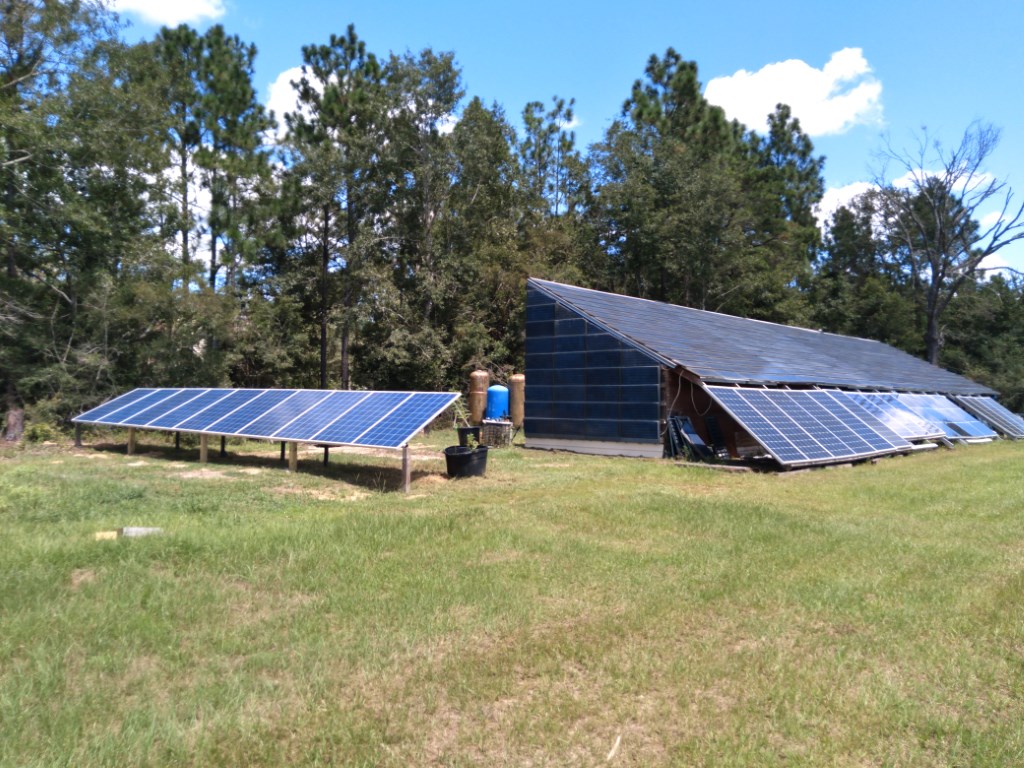
The 10 panel rack mount is done. 2500 watts of panels are secure and producing power. There are plenty of ways to do this, but this was my way.
A few posts back, I did a blog called Rack ’em Up. That was the beginning of the solar rack project. To recap, I used string as a guide to keep everything in one direction, surplus oil drill stem as the mount with conduit clamps to hold the panels. Now, the rest of the story.
The steel posts were cemented into the ground and the cross bars were welded to the tops of the posts. The panels had some holes already in place, so I used them as a starting point for the clamps. The clamps were attached with nut, bolt and washers and things were more or less secure enough to easily complete the work. The first holes being uniformly punched at the factory made it a snap to keep things neat. The second holes were drilled through the clamp, with a block of wood between the aluminum frame and the panel area to avoid accidentally drilling through the glass. Wouldn’t want to do that, would we?
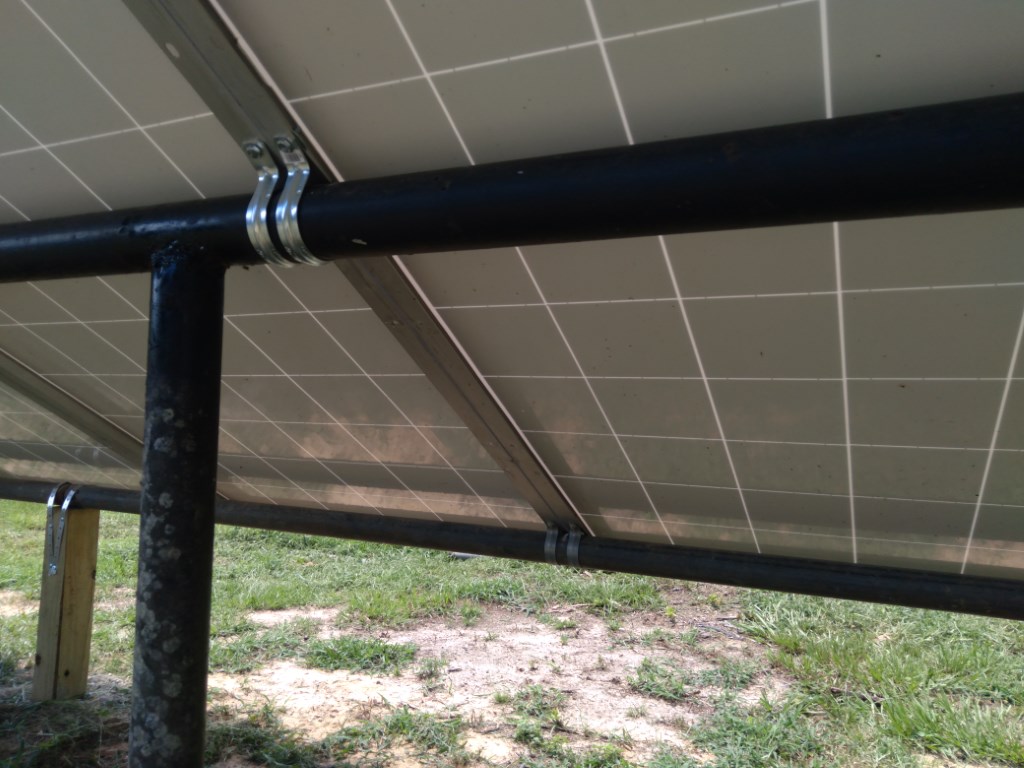
With the second set of nuts and bolts through the new holes, things were tight enough that the panel would stay where you put it, but you would not count on it in a strong wind. Hence, I began work on a front row mount. I did not have more of the super duty oil well steel, but I had some thinner galvanized conduit and I acquired some 4×4 treated posts, galvanized strap, more conduit clamps and fasteners. The panels were tipped up out of the way and the new posts were carefully planted on a string line.
I gave the posts a couple of days for the concrete to set up firmly, then used the string line again to mark for trimming. After being cut for the angle I had chosen, the steel tubes were placed on the posts with bolts and iron straps. I’m not saying these mounts can’t be wrecked, but if we get enough wind to do it, we’ll have other problems. This time, I used self drilling roof screws to hold the conduit clamps to the panels.
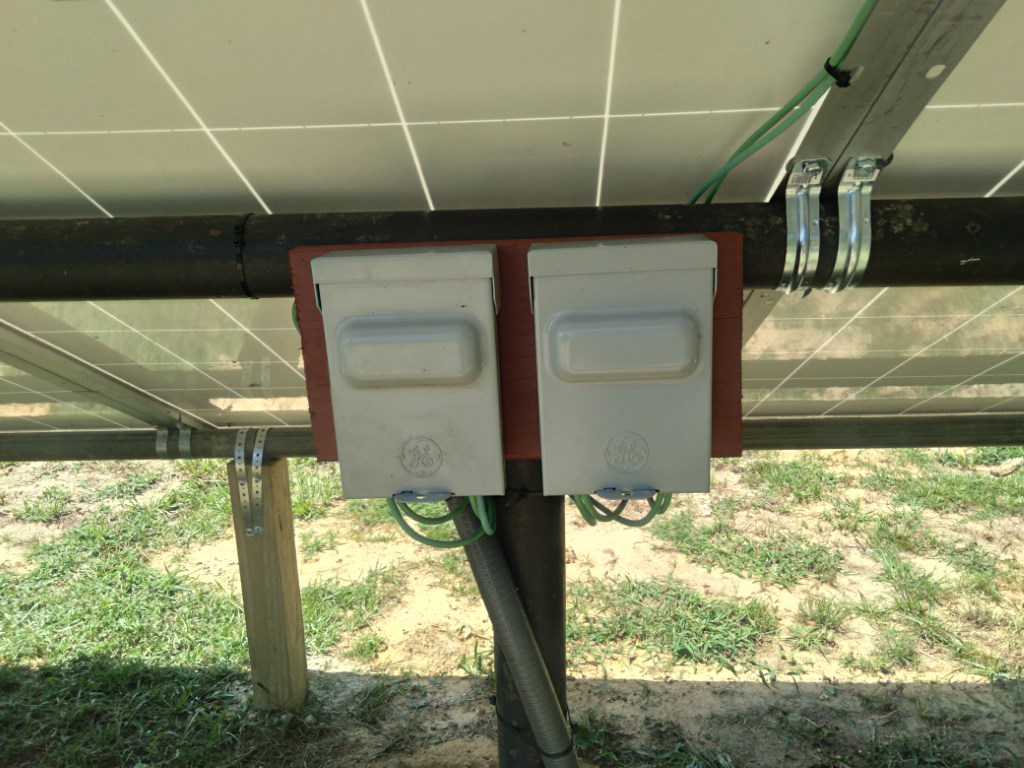
Panel wiring was neatly daisy chained from the ends to the middle. Five panels on this end and five on the other, with 2 downlines to the combiner and Midnite 250 charge controller. There was a lot of excess cable sticking out of the conduit as I had set things loose to operate before the final configuration was decided. To neaten things up and provide a quick shutdown in case of emergency, I put in two disconnect boxes. Wire lengths were minimized and terminated in the disconnects. These were the ordinary type used for outside a/c units. They are dirt cheap and are compatible with high voltage DC power.
The conduit was buried and grass is beginning to heal the scars. I’ll talk about performance checks in another of our chats and show how weeds and grass under the panels can actually help performance!
–Neal