One of our museum buildings needed power. Solar was the right choice.
I am a trustee of The Alger-Sullivan Historical Society. We formed to preserve the memories of the sawmill heritage of the town of Century, Florida. We started with stories. And more stories. We discovered Indian and Spanish colonial history in addition to the sawmill era. History is interesting when it happened here! Then we acquired property. Then artifacts just started showing up. Our first museum building was the town’s first free-standing Post Office. People would leave stuff on the porch and we added it to the collection. Over time, through generous donations of labor and money, we added a house, a garden, a steam train and the blacksmith shop.
Wiring of the complex kind of just grew…and got destroyed. During our Sawmill Day festival , our big fundraiser, vendors would sometimes drive overly long tent stakes to hold down their shelters. They hit multiple powerlines in multiple places and got the waterline to the fountain. No power to the storage building. No power to the railroad museum in the boxcar. No water or power to the lion’s head. I have no idea why nobody got shocked. Old Neal got tired of hand digging trenches (a power trencher would probably find more stuff to break) and stuffing conduit with stiff cable.
John Kimble, Sun Electronics’ El Hefe, and I sometimes have a conversation about whether solar power is cost effective. The answer is, “Depends.” Lots of variables. In this case, it was a no-brainer. Clearly, a direct power line to the building that displays a blacksmith shop and gristmills would be imperiled with the threat of impalement. Then there is the added cost of routing the line along brick walls and walks to avoid damage. Oh, and the issue of finding a volunteer to dig the trench. I think I am the 3rd youngest member of the outfit at age 68. Nope, there is no money to hire it.
So solar it was. The volunteers from the Lions Club and Bondurant’s Hardware who built the structure included standard AC (alternating current) wiring before the walls got closed up. At least I THINK it was them who wired it. Sometimes stuff just gets done and nobody’ll admit who dunnit! At the last Sawmill Day festival, I plugged the building into one of my golf cars for power and everything worked. The solar will be permanent and when the museum is open on Saturdays, visitors will be able to see the displays better with the lights on. Why the big push? After a 2 year Sawmill Day hiatus, in deference to the recent plague, the park is in shambles and the coffers are low. We are having a fix up, clean up push to have a Sawmill Day the first Saturday in May. Yikes!
Here’s what happened. I went out midweek with a load of stuff. I always leave something out, but you have to start somewhere, right? First problem was of the 2 pounds of keys I had I still did not have the key to the supply room, so I had no ladder to get onto the roof. No problem. Park the Avalanche at the roof line and clamber up. So I clambered up with 2 solar panels, a power drill, power screwdriver, caulk gun and a bucket of hardware. Well, naturally, there was more than one clambering and I find that with advancing years I am not as fond of clambering as I once was. The ladder would have been better. Nonetheless, let this assure you that age is not a big issue with a small project like this.
The panels were some real oddballs. They are first class GE panels of 65 watts. What’s odd is the open output voltage is 10v and they are an odd shape. I think they were an attempt at solar roof tiles, but not a good effort for that. Still, nice and useful panels. The 10 volt output means that you need two of them to charge a 12v battery. So I used two.
I got a phone call from Roberto, one day. “Hey man, I got some funny solar panels John said you might like”. “Sure, send ’em,” was my normal reply. I thought there were two of them, but each box held two, so I had four. Ok, what to do with them? Bro has been wanting a solar awning for his back bedroom. That would be easy. Then this project came along, So, here I am on a roof with these panels.
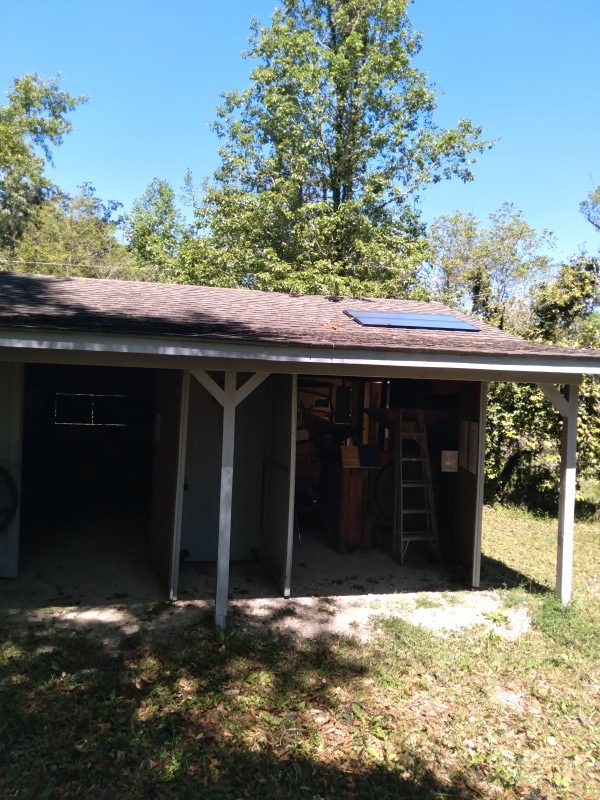
The park is full of oak trees so I catch my bearings and shoot for the best location. I accounted for the roof overhang and drilled a hole that I thought would put the wires close to the wall. With low voltage DC, it is best to keep the wires short. After wiring the two panels in series, I poked the wires through the roof and pumped in as much caulk as I could. The panels have a line of screw holes on one edge, so I used them. On the panel above the through-hole, I added a bead of caulk to keep water from running under the panel, insurance for keeping the through-hole dry. Each panel had one line of screws and a good wind might flip them, so I used fender washers and long screws to clamp the lower corners. Not ideal, but it’ll work.
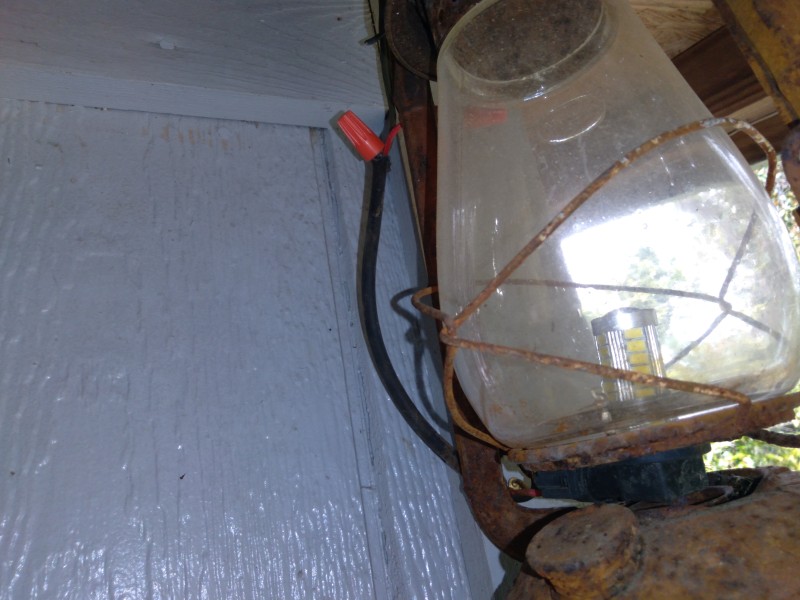
Naturally, one of the things I had forgotten was my meter, so I could not double check which was positive and negative. I took that as an omen to take the rest of the day off. Before I left, I hung an old kerosene lantern from the porch rafter. It has been refitted with an LED car bulb to give a quaint look with energy efficiency and reduced fire hazard. The idea here is to have another light on in the park at night.
On my next visit, Saturday, I was better prepared. I screwed a cheapo charge/lighting controller to the rafter near the protruding wires from the panels. The “LOAD” output was run to the porch’s keroLED lantern. This particular controller is to run the light 6 hours after sundown or until the battery needs to be shutdown. I think this rig is big enough to run the light 24/7, but we’ll start small. Next a Romex line was run from the battery terminal to the battery. 12 or 14 gauge wire is plenty safe for the amount of current here, but a little lossy for a 12v installation. The run is short and the 130 watts from the panels is overkill, so I don’t think there will be a problem. 10 gauge would have been better, but in case I did not mention it, this is a budget installation.
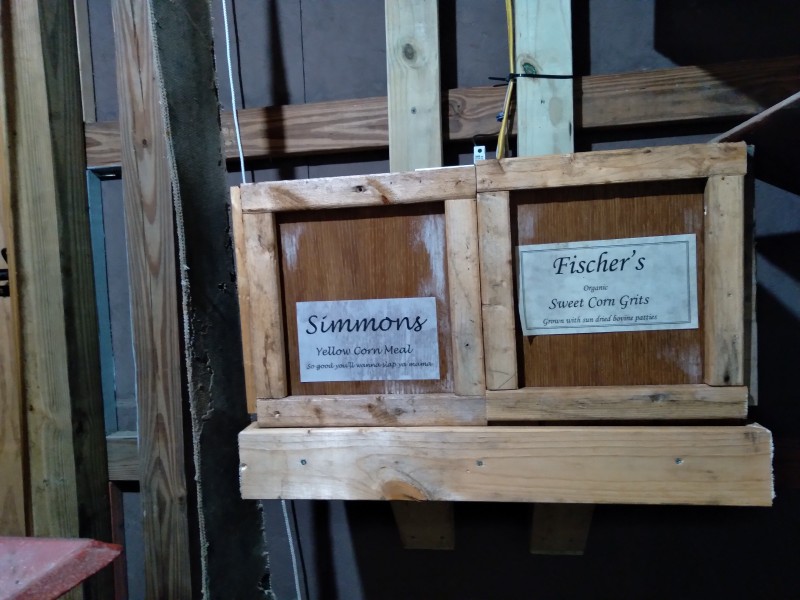
The batteries are a couple of 6v SUN230 golf car type models, recently removed from my Zero Export Grid Tied experiment. 230ah hours when fresh. These are rather elderly and not at all fresh. They’ll do just fine. Russell Brown, another member and a real go-getter had built a shelf for the batteries and had built some some faux meal boxes to hide them. He had even placed the batteries, which was fine with me. I have a not-quite-healed broken wrist that makes hefting 65 pound batteries unpleasant.
Behind and above the batteries I mounted a stub of DIN rail. This is a handy bit of metal to which you can clip gadgets, like fuse holders. I had a couple of 10 amp fuses and that seemed plenty when we are going to run a couple or three one amp bulbs via 20 amp wire. Once connected, the charge controller quickly got the batteries up over 14v and settled into regulation. I now had a 12volt DC power system all ready to go.
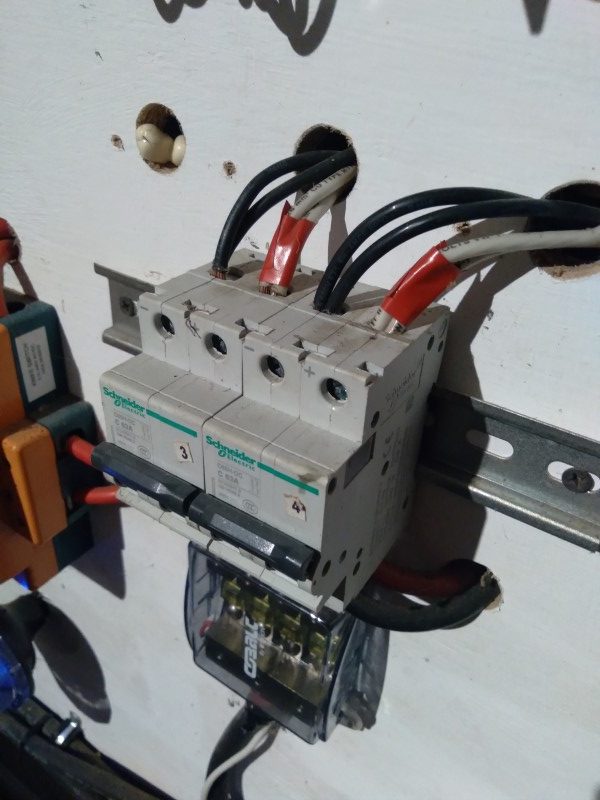
DIN, by the way, stands for German Industry Standard. Those Germans spell things differently.
Next issue is to figure the best route to interconnect the building and the battery. After a quick study, it appeared to be easier than I had feared. I was running low on wire and…have you priced copper wire, lately? Did I mention we are a budget outfit?
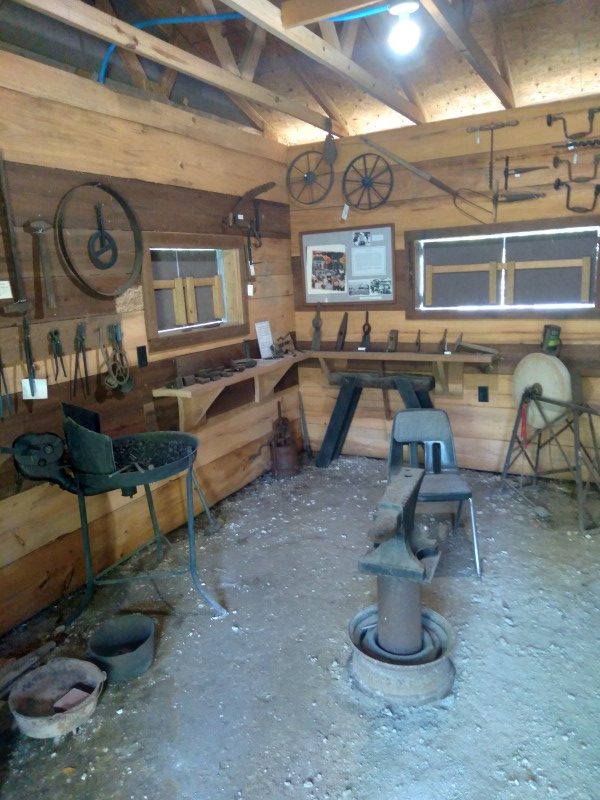
The light in the blacksmith shop is on a switch, but the one in the mill room is always hot, so all I had to do was go up a few feet to the rafters and over a few feet to the fixture. A piece of 12 gauge Romex was fitted with ring terminals and divided by the fuse holder at the battery end. Staples held it in place and I wired into the main line connected to the light. I spent $6 to change out the light fixture with a pull-chain fixture so the light can be turned off. In the light fixtures I installed new 12w LED bulbs with standard Edison bases, less than $5 each. I am trying to get John to stock these bulbs for some of his customers on a budget. Not every system needs an inverter, you know. Black wires are hot in an AC power system, so black became my convention for +12. Tighten up a few screws and we are in business!
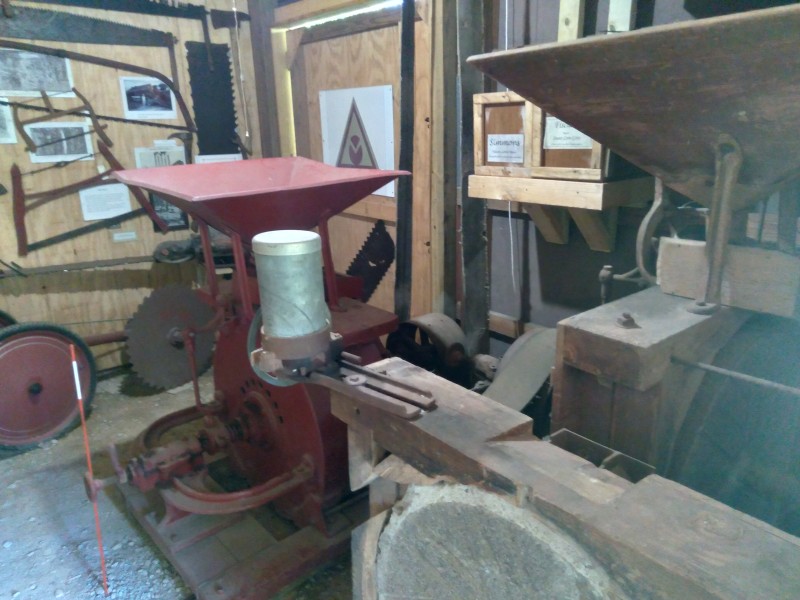
Battery boxes can be seen under the lower edge of the right hopper.
These bulbs are rated at 1050 lumens, so the blacksmith shop is bright, too.
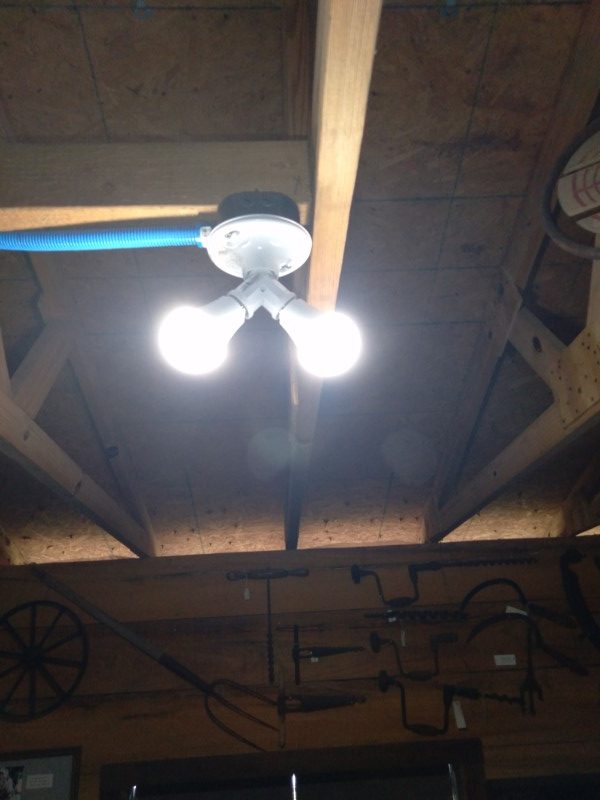
With a couple of “Y” adapters from the hardware store, we are now up to 2100 lumen in each room. Had to do something with the extra bulbs in the 5 pack.
Saturdays we usually have a crew come in and socialize or do some work around the place. We usually have some people drive in from US29 to see the museum, so someone will take a break and give a tour. Most of our crew was at a local festival across the state line in Flomaton, hawking our books and panhandling, so there were only 3 of us at the museum. We had 3 tours come, the last family came in just as two of our folks were leaving. I was finishing up the solar, cleaning up the mess and feeling fine with the results, so I talked with the last group.
The family had bought an old house and wanted to know about it. I answered their questions best I could and offer some resource suggestions. They asked about the park and our operation and I answered those questions. The gentleman thought a minute and offered a donation of $1000.
It was a good Saturday.
–Neal
Notes. John asked questions, so I thought you might be wondering, too….
The items in the blacksmith shop came from a working shop, donated by the Ealy Black family.
One of the gristmills was local. It had operated behind the blacksmith shop in South Flomaton, which is now part of Century. When the mill business closed, the mill was moved and used on a farm outside of town in Skeeter Flats. It was donated to us after a storm flattened the barn where it was kept. Oh, yeah, that was a neat trick to pull over a half ton of machine out of a collapsed barn and onto a trailer. We have actually demonstrated making meal with it, powered by a John Deere 420 tractor. It can turn out 1000 pounds of fine meal per hour with ease.
The large wooden Williams mill came from Knott’s Mill in Butler County, Alabama. Recovering it was another trick as the floor was rotten and the door was not as big as the mill. We recovered the 2200 lb. Fairbanks-Morse engine, too, which was an even bigger challenge. At one point the mill was being moved in our building and it ended up on my hand. One of my knuckles is embedded in the bottom of the wooden skid. I have generally avoided dealing with it ever since.
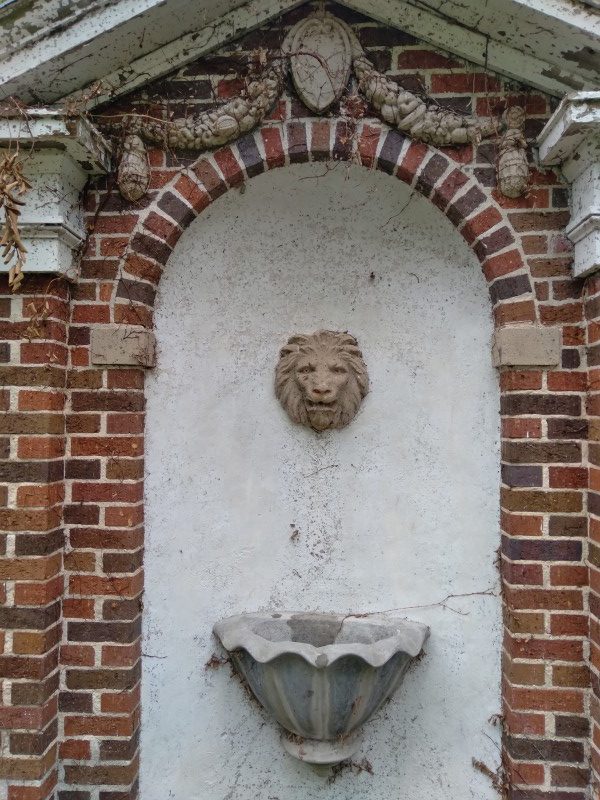
The lion head fountain was the centerpiece of the formal garden at the residence of Edward A. Hauss, head of the sawmill. When he died he stipulated that his house be torn down for fear no successor would properly keep it up. The property quickly grew over. When the Historical Society got the property, there were all sorts of surprises to be found when we began clearing the overgrowth. Hauss had no worry about pumps for the fountain. The town had two water systems. Indoors you had the drinking water. Outside faucets and fire hydrants were provided with water from the mill pond. Pond water flowed from the lion’s mouth.
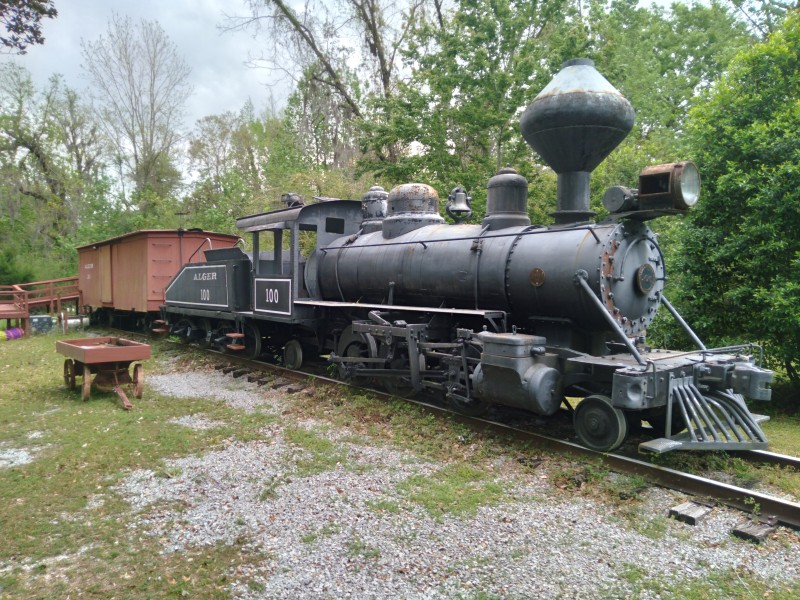
The 40 ton Baldwin 2-6-2 locomotive was used as a yard engine by The Alger-Sullivan Lumber Company and to run supplies to the camps. By the 1950s it was parked in front of the mill on Front Street. It was the town baby sitter. New mill owners sold Old 100 for $7500 to a scrap yard in Mobile. They restored it and used it as a yard engine. In 1976 it went on national tour. Later it was sold to and operated by the Whitewater Valley RR, hauling tourists in Indiana. I found it disassembled in their bone yard. We bought it back for a whole bunch more than what the sawmill sold it for. It left Century on one truck and came back on 4. Some assembly was required.
The boxcar, home of our railroad museum, is original to the locomotive and it was used for hauling supplies to logging camps and the commissary store. Somehow it got separated and ended up in Pensacola. We got it donated back to us long before we found Old 100, but we had to pay postage. Ever tried moving a boxcar with rails attached? And getting it over a fence? Easier than you’d think.
If you wanted to put together a similar solar power system for a cabin or shed at your place, how much would it cost? I normally avoid keeping records on my projects, just in case the wife asks. In this instance, most of it was junk box stuff I had on hand. Free panels from John, retired batteries….stuff just accumulated. I only bought a box of bulbs, a light fixture, and a couple of “Y” adapters, so less than $40 out of my pocket. All told, if you bought new, maybe $500. An underground utility wire would be more in our case. And more work.