Lithium II…The Journey Continues
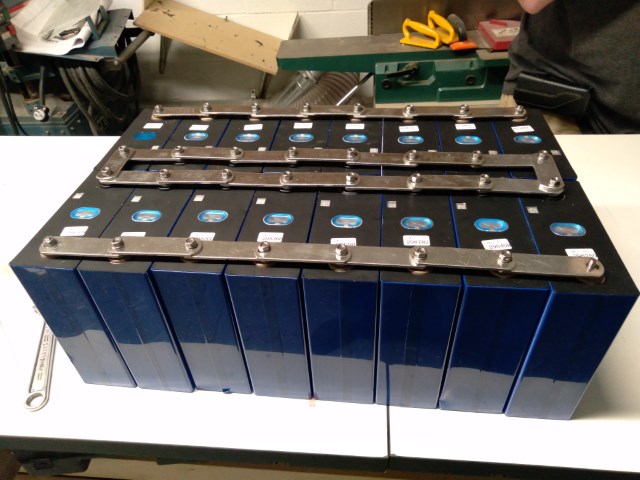
When I went to bed last night I was anticipating spending a Sunday afternoon working on my new Lithium Iron Phosphate (LFP) battery system for Sun King, the solar-powered expedition launch. It didn’t work out that way. I woke up knowing something wasn’t right and it evolved to the realization that I was sick and […]
Lithium II…The Journey Continues Read More »