Maybe you are just starting out and don’t know a lot about solar. Maybe you are a pro or maybe you just think you know it all. Whatever the case, it doesn’t hurt to look at other peoples’ systems to give you good ideas. Sometimes they will give you a warning, too.
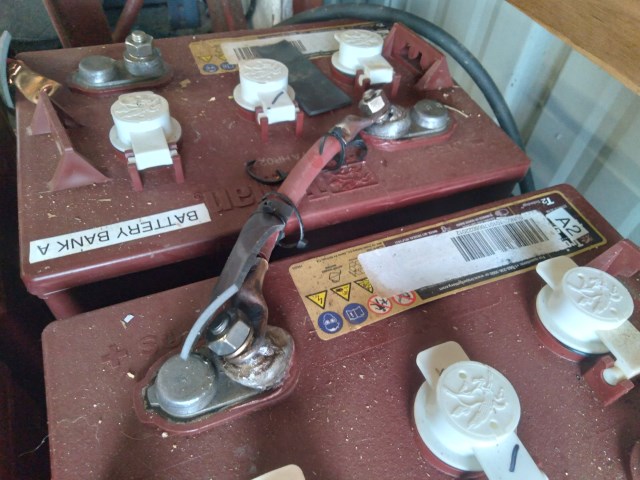
Let’s take a look around, starting with batteries and related items. I saw this stuff, Sunchem No-OX-ID anticorrosion battery grease in action. 16 Trojan T105s had gone 2 years without added water. This usually results in some heavy acid fumes and corrosion. Not so on this set. A 2 ounce tub of this comes with a little brush and it goes a long way. I found it on ebay, 2 tubs for $15. You don’t need it for Nickel or Lithium batteries, but you should consider it a must if your batteries contain acid, even the sealed ones.
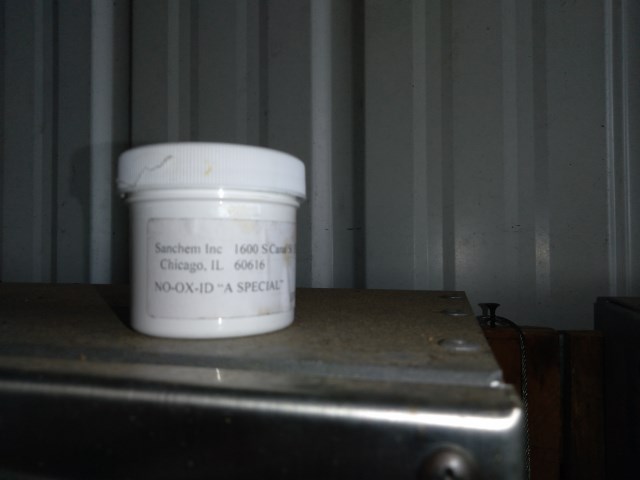
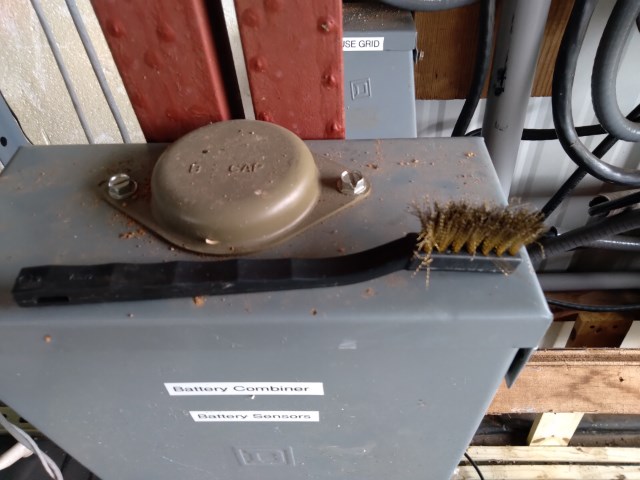
Welders’ toothbrushes are available in stainless and brass. These are cheap and just right for cleaning up corrosion on a battery or cable terminal before applying the No-Ox-Id grease. You can get them at welding supply stores, like Wesco, or at Harbor Freight.
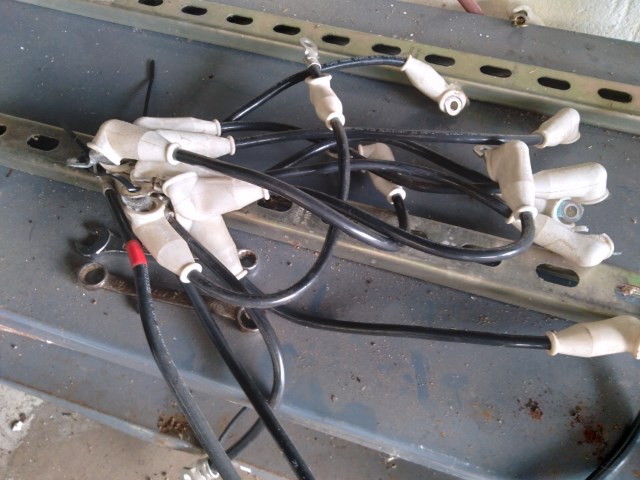
Cables? This installation uses battery cables made of THHN or THWN house wire. They appear to be “storebought” and are neatly fabricated with rubber boots to fit AGM batteries. They worked fine for 4 years, before I took them offline, but at AWG-4, they seem a little thin to me. Part of that is the thin, but tough, insulation. Given that they were in multiple strings, 4 gauge was adequate to feed the original 12kw 48volt inverter. Are they legal? Personally, I prefer marine cable or welding cable, which are readily available, but they might catch the attention of a sharp-eyed inspector on a code system.
Batteries on a concrete floor? Don’t do it. Concrete acts as a heat sink, which will stratify the fluids in the batteries AND the inevitable acid spill will do bad things to the concrete. Here we see that heavy sheet plastic was put down to protect the floor and strips of wood got the batteries off the floor. This is not the prettiest way of doing things, but it is cheap and effective. Latex porch paint on the floor would have added an extra measure of protection. Also, scraps of vinyl flooring make for a super heavy duty alternative to the sheet plastic used here.
Batteries on a wood floor? I had a backup power system in my attic for a couple of years before I went to solar. A sheet of vinyl flooring, liberally sprinkled with baking soda, was underneath the metal battery rack. (I always keep boxes of baking soda and a pump spray bottle of baking soda and water for acid incidnets and battery cleaning.) The batteries are out in the Solar Shed, now, but the attic floor is still in good shape.
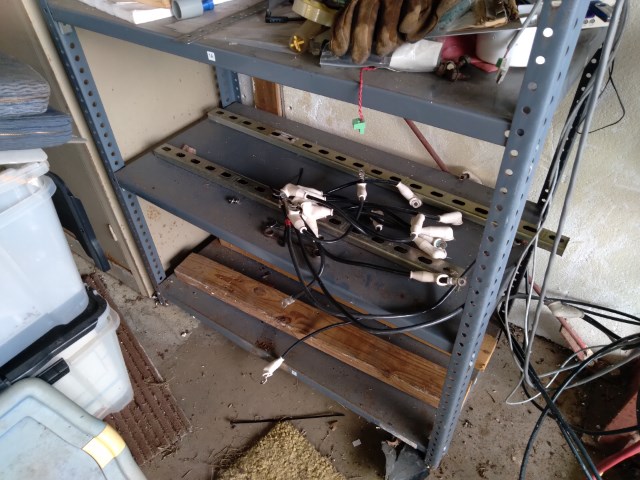
Metal battery racks? That’s the standard. Some battery systems come in racks. (Sun Electronics has some battery systems that are really nice.) You can buy standard racks, too. In this case, medium weight steel adjustable shelving was used. The batteries were sitting on 2x4s or steel strut material, so the weight was distributed and he got away with it. I don’t recommend this. Some batteries come with end terminals and are sealed, so vertical racks are great. Otherwise you might have trouble getting to terminals and watering ports. The old Delco-Light batteries were stair-stepped, which gave great access to terminals and watering ports. Any welding shop can fabricate some nice angle iron steps. Cinder blocks and latex-painted 2x10s will do the job, too. (Metal racking should be heavily coated against corrosion. I can’t tell you the best plan, but from my observation, regular enamel does not hold up, especially not in an extreme situation, such as the battery rack in my electric jalopy. It has just been redone, coated with “Silver Dollar” roof tar/paint. We’ll see how that does.)
Battery boxes, or some sort of covering are a good idea. Cats, possums and coons are likely to take a stroll across mine, if uncovered. The last thing I need is to check my batteries and find a smelly corpse on them! The pro boxes are often metal or even integral. Mine have always been wooden, with acid resistant paint. Where they are against a wall, I like to have a fire resistant material like “sheet rock” or Hardie Board. Acid can make a mess of those materials, if not painted, but they don’t burn.
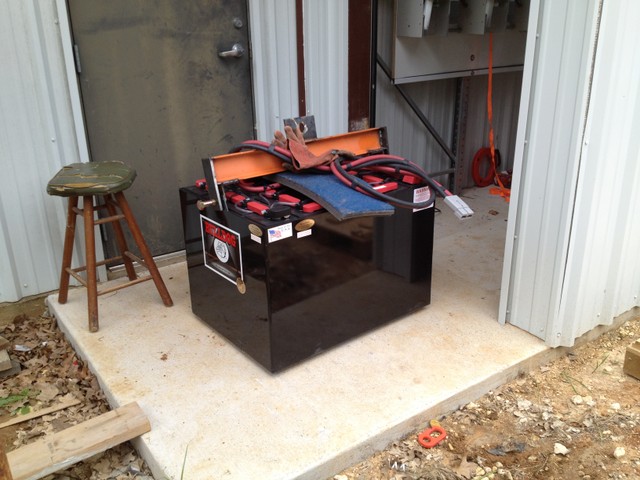
At the very least, the batteries need to be covered. You don’t want to have the cover touch the top of the batteries. A metal cover would get sparky and a wooden cover could burn if it got against a battery terminal that was not tight. They can get right hot, as you see here, below. Wooden blocks can space the cover. I saw a neat rig where a cable held the cover above the batteries and it could be moved up to another hook to hold the cover open for servicing.
Ventilation? Many batteries, especially Flooded Lead Acid (FLA) types, release hydrogen and oxygen, which can be quite explosive. It doesn’t happen a lot, but no sense in asking for trouble. When my batteries were in my attic, there was a small fan in the top of my battery box. A length of dryer hose was used to safely move whatever gas was generated to the outside world. The fan was the kind you find in small electronics. It only used a few watts and was powered by a wall wart transformer.
Mixing batteries? This system started out with too few AGM batteries. Great batteries, but not enough. There are never enough, but in this case the AGMs were cooked by overcharging and died within two years. I was able to revive them. Then, against my advice. Trojan T105s were added, but not maintained. That’s also a great battery, but the two types have different charging characteristics. I admit to mixing in my own system and it is the flooded batteries that will suffer, if you aren’t careful. My main bank is AGM and my two electric farm trucks, equipped with GC8 and T105 batteries contribute when not in use. The different batteries do not fight, but the GC batteries don’t get charged quite right. Therefore, they sometimes get pulled offline and get a fuller charge with the golf car charger or with my desulphating charger. If you aren’t willing to handle the extra chores, don’t mix.
So, there you are, a few observations from some systems I have seen. We’ll continue the theme with mounting and other things that turn up.–Neal