We were having problems with the lights in the “boxcar”, so I decided to rethink it’s solar-powered lighting.
It isn’t really a boxcar. It is a 40′ shipping container that looks like a boxcar without the wheels. Very handy. Initially I did a full blown install and it worked well. 4 panels, charge controller, battery, inverter and LED strip lighting. Then it got to where it didn’t work too well. It would cut off after a while.
The old lighting system required that you bend down, open a cabinet and turn on the inverter. All the lights came on. All or none. Fine, when it works. I diagnosed the problem as a dead cell in the battery. The huge, grossly expensive battery. The battery went to the Solar Shed for reconditioning, where it has thus far resisted my efforts. I have pulled out all the stops, calling upon the black arts of battery reconditioning. You might not do that for a 9 year old car battery, but this battery costs $1200! See why I’m trying to save it?
Back to the system, I thought maybe I could improve it and make it easier to use. And you can use a similar setup for an out of the way home, hunting camp or storage shed.
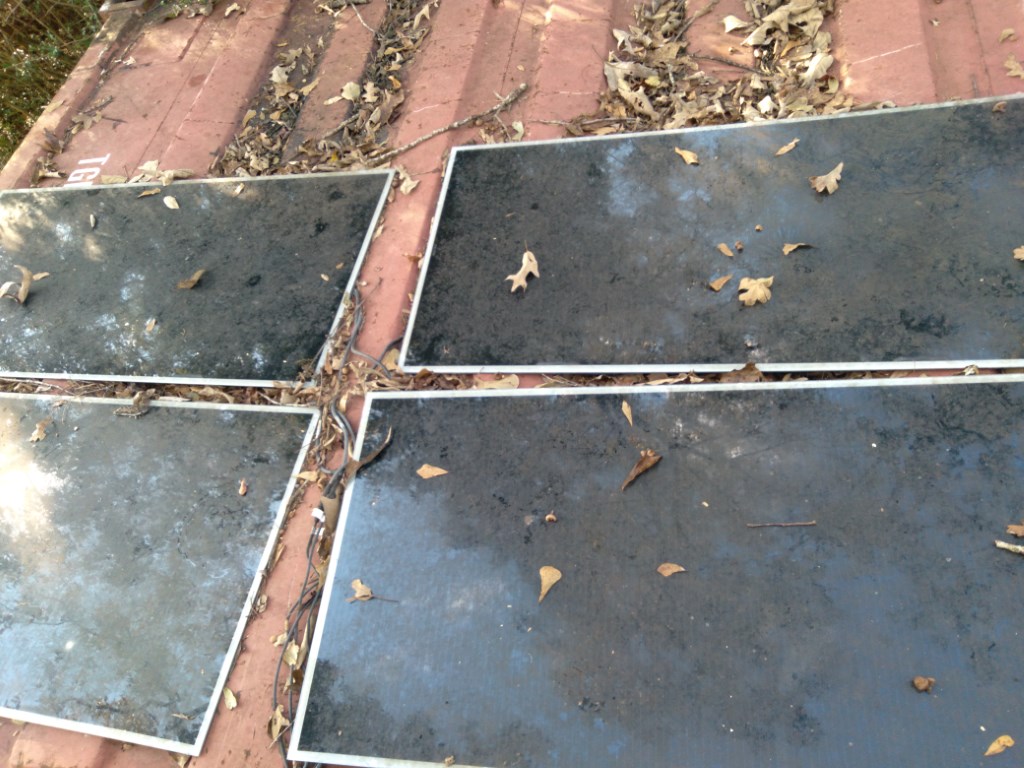
I kept the 4 original panels. They are kinda weird, but perfect for this application. And they cost $7 apiece. Sun hasn’t advertised these in a while, so they may be out. These are FS-70 amorphous panels. The important thing to know about amorphous or thin-film panels is that they work better in the shade than crystalline panels. They are sitting flat on top of the boxcar, connected in parallel. The boxcar is in a dense forest and the roof only gets a short period of direct sunlight. 280 watts is a lot for a little light, but the odds of getting 280watts in the shade, with leaves raining down is slim. It is a good match.
I have a DIN rail with a fuse holder/disconnect and that goes into an MPPT charge controller. This particular controller is one of many I auditioned for the Solar Yacht project. It had a bright, clear display and no fans to suck salt air into the electronics. Sadly, the designer missed a spec on the display’s info sheet and soon the display went to gibberish. Everything works great, but I can’t read the meters or change the settings. I had 3 of them in the junk box and recruited one for this project, since I would not have to spend any more money.
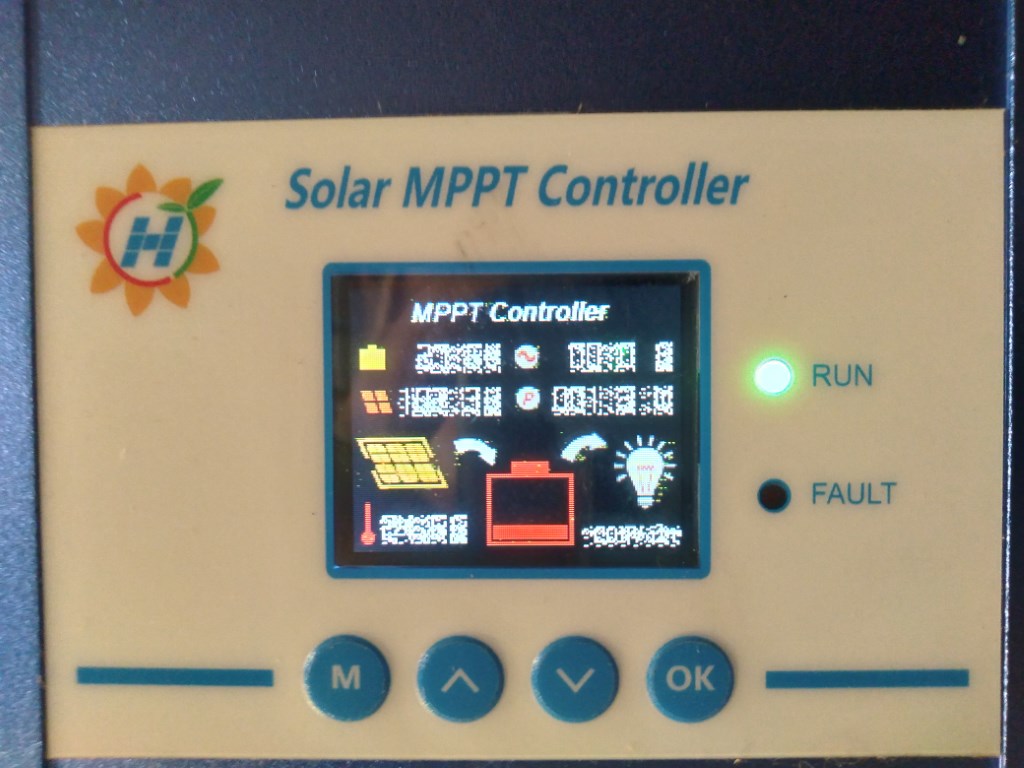
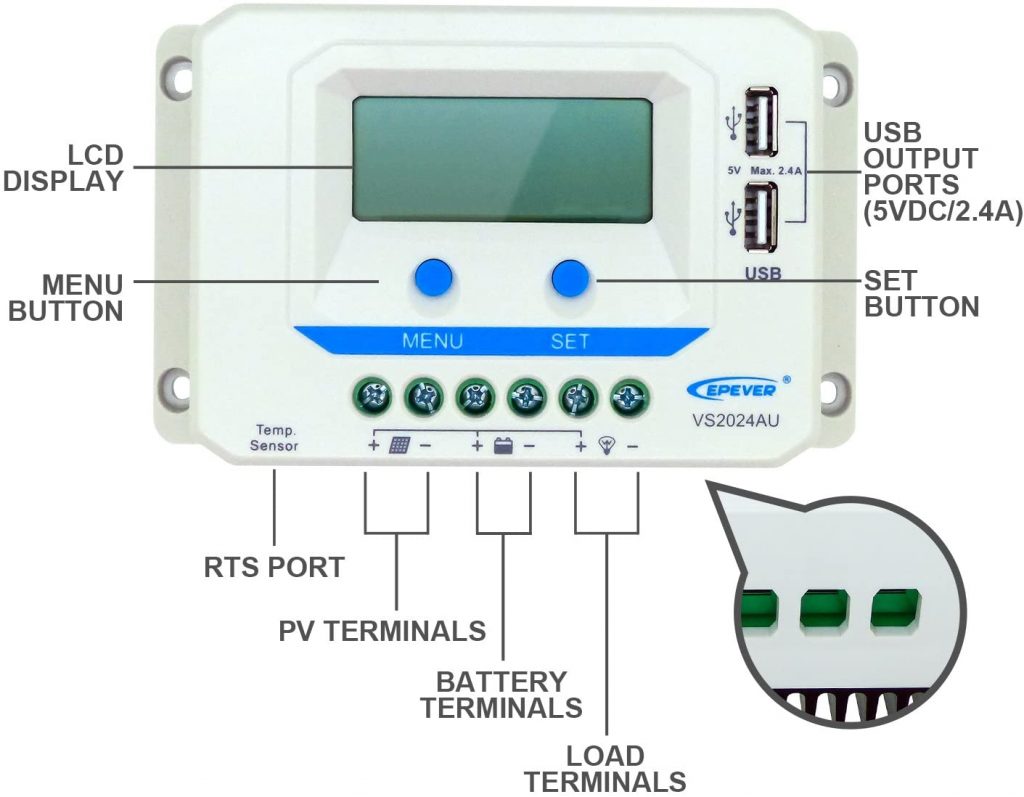
The reason for using the MPPT charge controller is that these are 90v panels. You need to use a Maximum Power Point Tracking controller to step the 90volts down to 12 volts. If you have some 12 volt panels, which usually max at 18-20 volts, you can use a cheaper, simpler Pulse Width Modulation (PWM) controller or a simple on/off controller to handle battery charging. Roberto can fix you up with a simple unit by EPever at a good price. I used other EPever controllers on the Sun King launch and they are still running years later.
The output of the charge controller goes through a breaker on the DIN rail and on to the battery. You’ll need to calculate your fuse and or breaker size. My panels have the rated current on the back, less than an amp, and there are 4 in parallel, so the max current will be under 4 amps. Probably 5 amps will be the closest size to that. On the output, 280watts/12v=23.3 amps, so round it off to 25 amps. REMEMBER, these are numbers based on my gear and you will need to calculate your own. You DON’T need DIN mount circuit protection. Your auto parts store or ebay has small fuse blocks that use automotive fuses. They cost only a few bucks and you can get fuses anywhere.
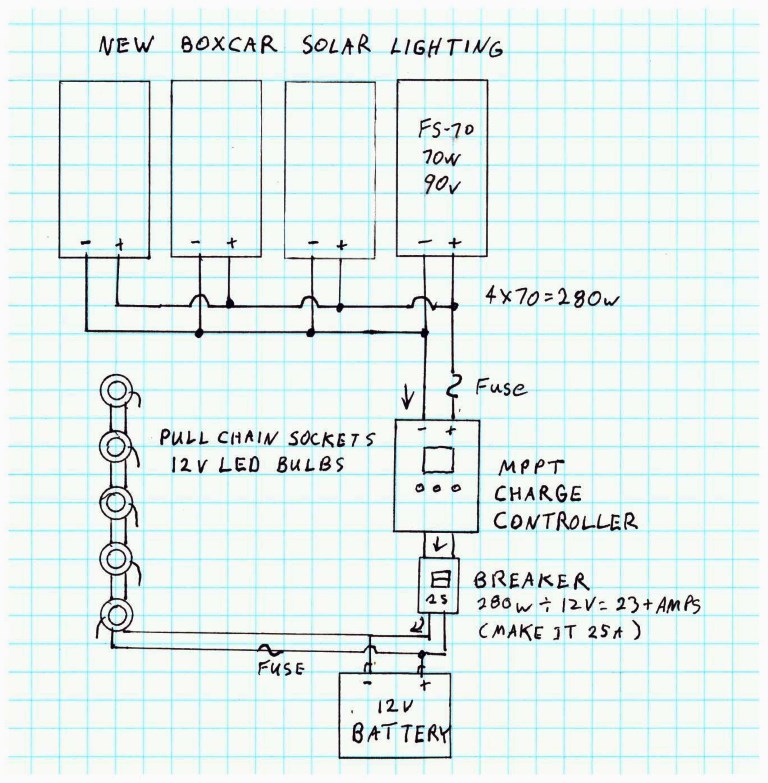
Now to the battery. You don’t need a huge $1200 battery. To tide things over while chanting and dancing around the big battery, I took a 14ah battery I rejuvenated from my motorcycle and it works great. I had decided to just buy a new one for the bike, so there it was. It is in there on a temporary basis. A car battery would be fine, too. Obviously, a new deep cycle battery will last longer, but sometimes it’s ok to “run what ya brung.” We’ll get back to this philosophy in a moment.
The boxcar is full of shelves, from stem to stern. 8′ sections to the ceiling on one side, making handy high points for mounting the lights. The lights are 12v LED bulbs in the standard Edison format. They will actually run from 8 to 24 volts and only use about an amp! Remember that. We’ll have a test, later.
I put standard metal boxes on 5 of the shelf uprights and strung 12gauge copper wire from the battery to the last bulb. The fixtures I put on the boxes are standard pull-cord fixtures. You can walk down the narrow aisle and turn on the lights as you go. Each is equivalent to a 75 watt incandescent.
I got the bulbs on ebay in a 5 pack. Boxes and sockets came from the hardware store. Thank goodness I had a roll of copper wire! That stuff is getting pricey. I think the bulbs are non-polarized, but I put the positive wires on the brass-colored terminals of the sockets and negative to the chrome.
OK, here’s the test I promised. What is the voltage range of the bulbs and how can that make the project even less expensive? Answer: 8 to 24volts. My inverter was getting a low voltage shutdown from the bad battery because the inverter won’t run at 10volts. These bulbs will. That means you can use a battery with a dead cell that you might have in the garage because it won’t start your car. I always have bad batteries around for trade-ins or recycling. If the big battery cannot be reclaimed, it will still work fine in the boxcar. It would run the lights 24/7.
So there you have it. No worry about a tiptop battery. No extra step of starting and stopping the inverter. Lots of light.
–Neal