Various and Sundry Items
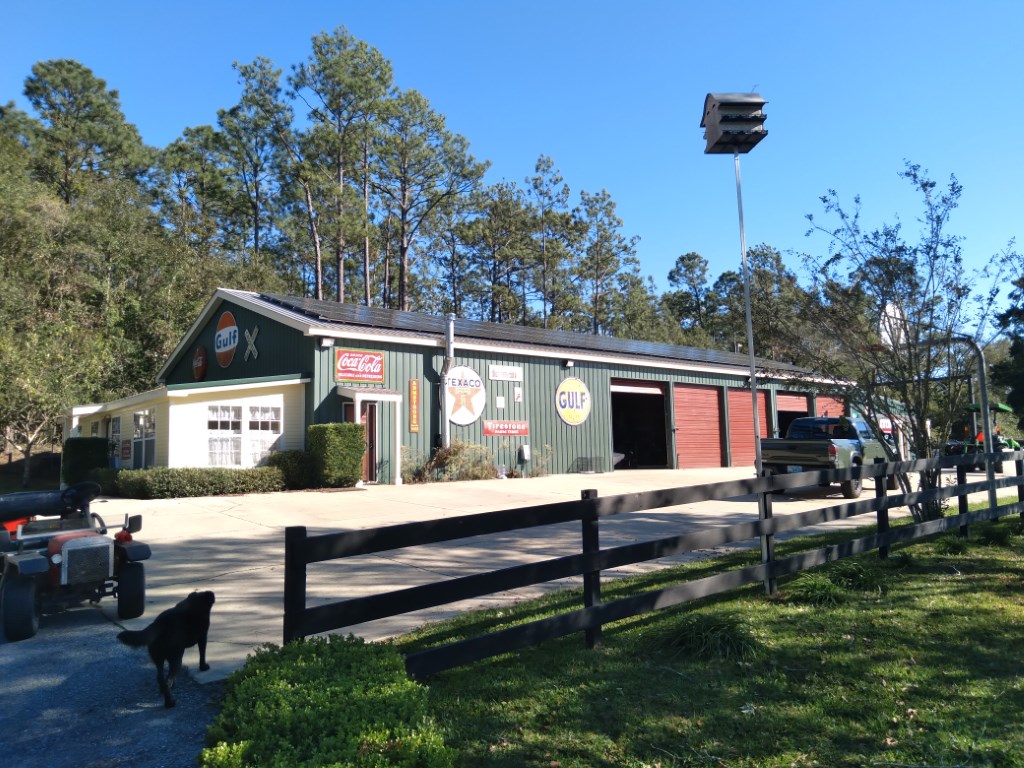
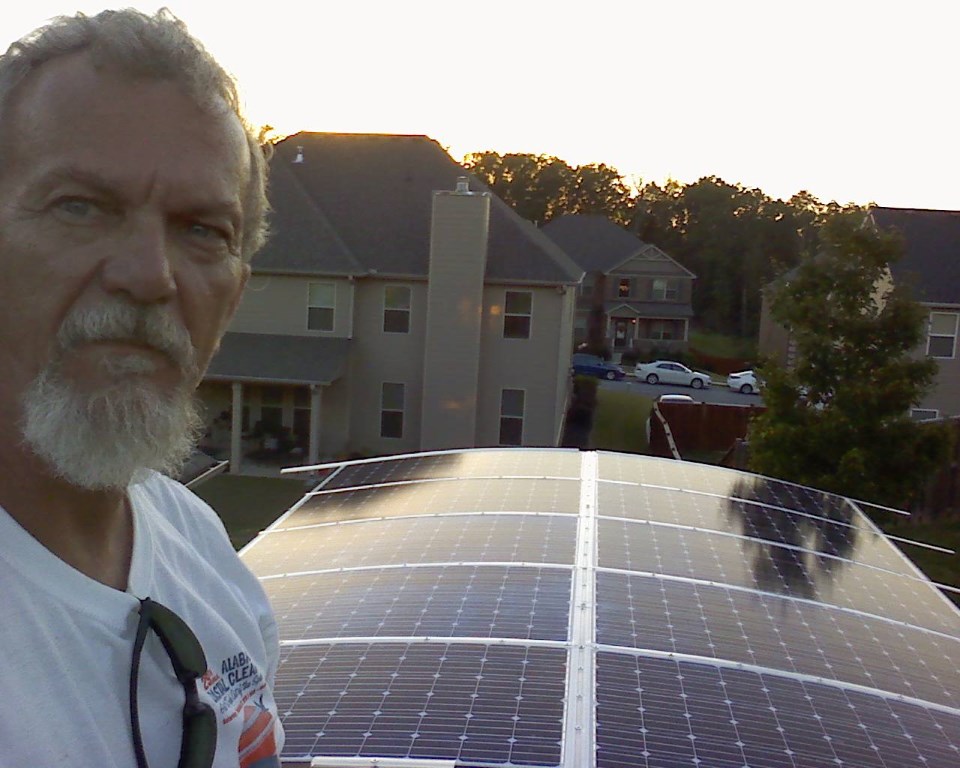
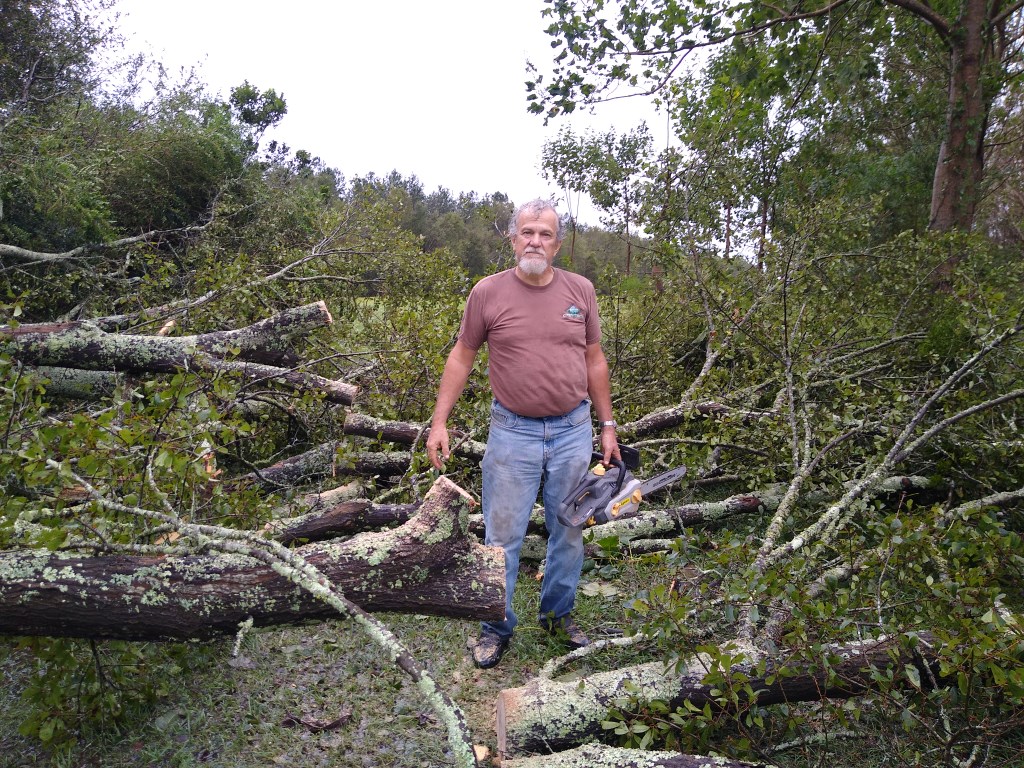
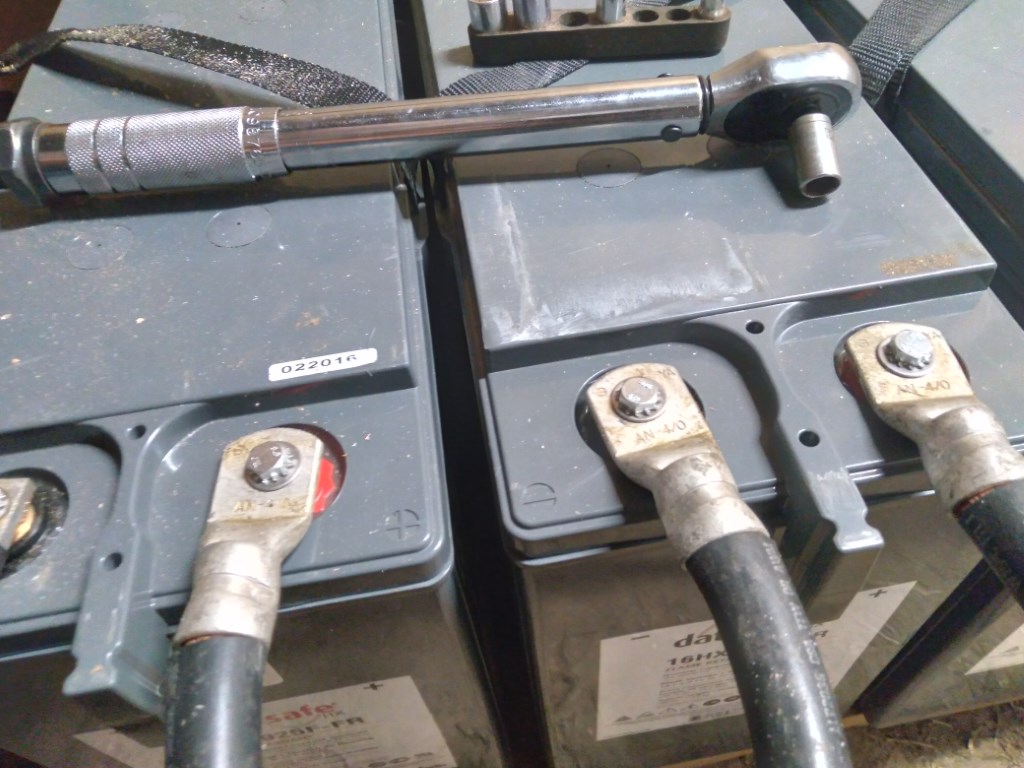
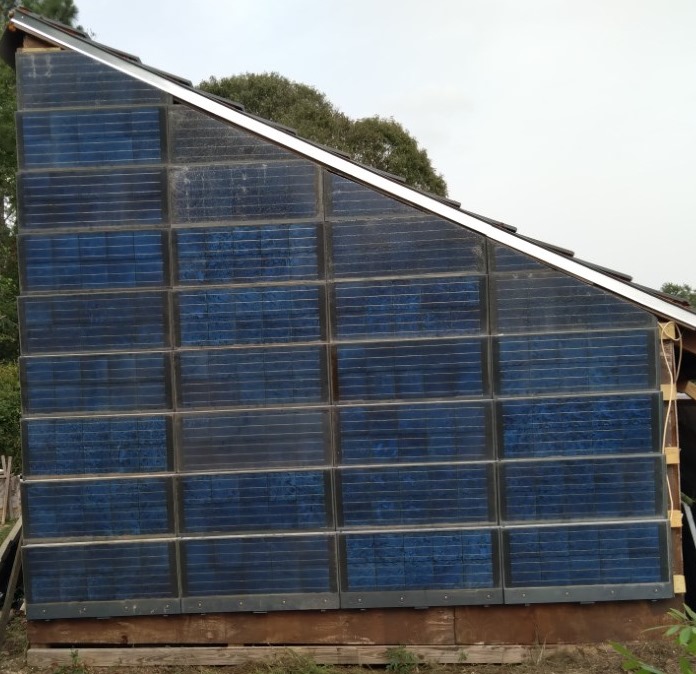
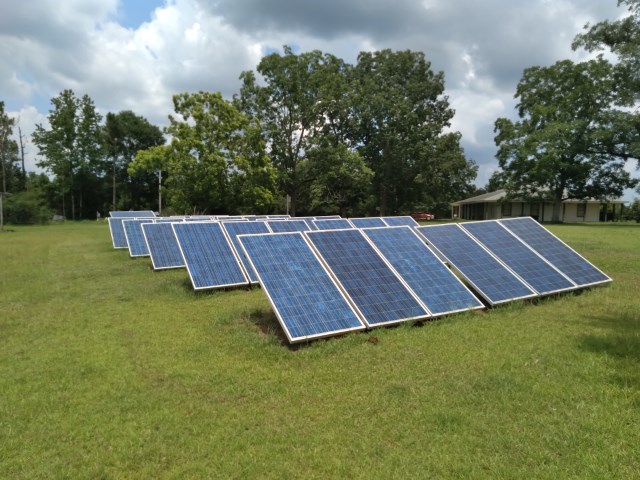
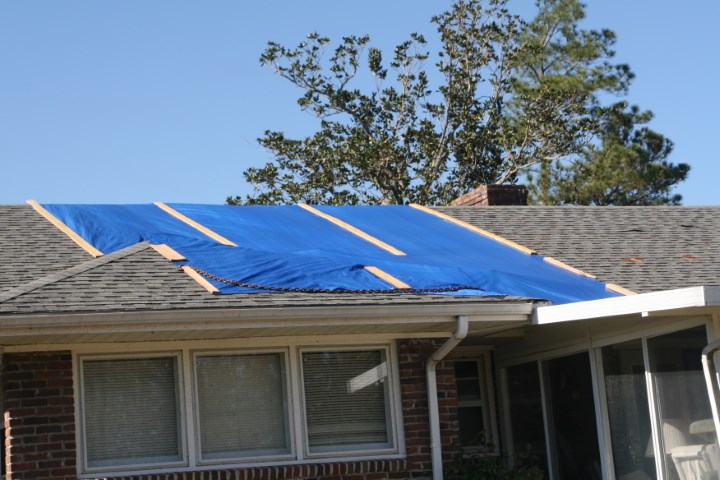
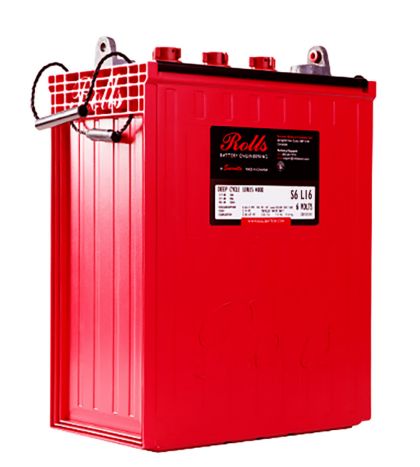
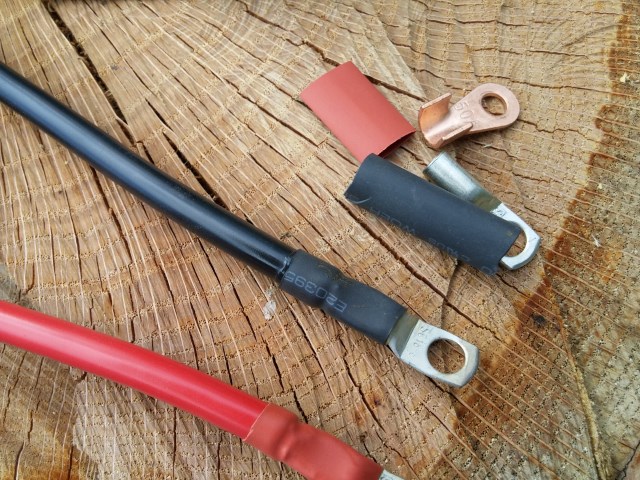
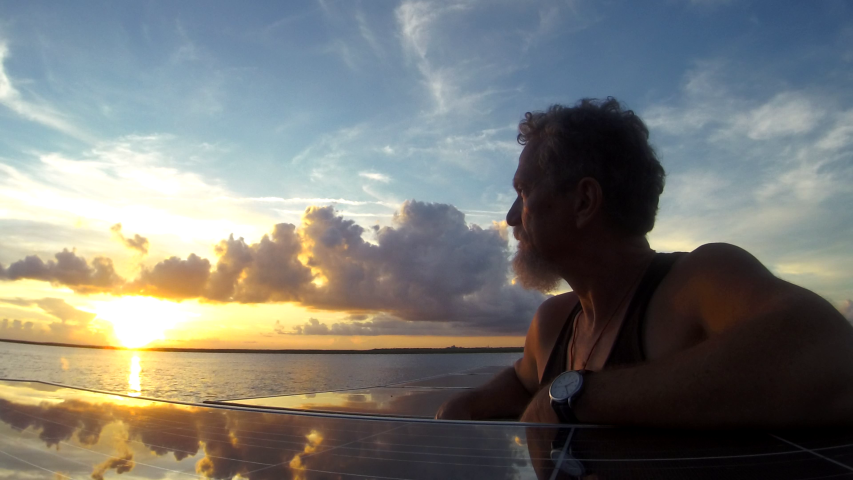
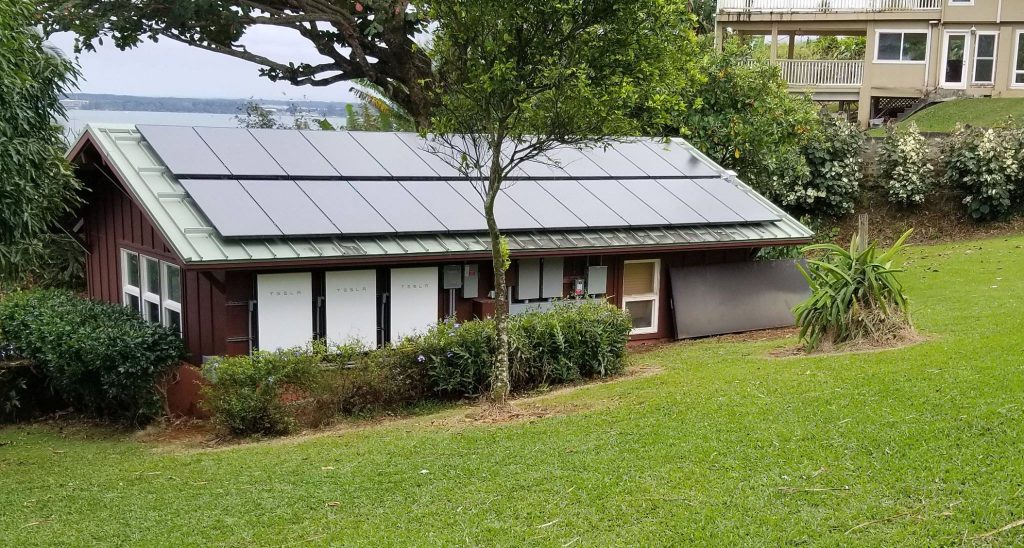
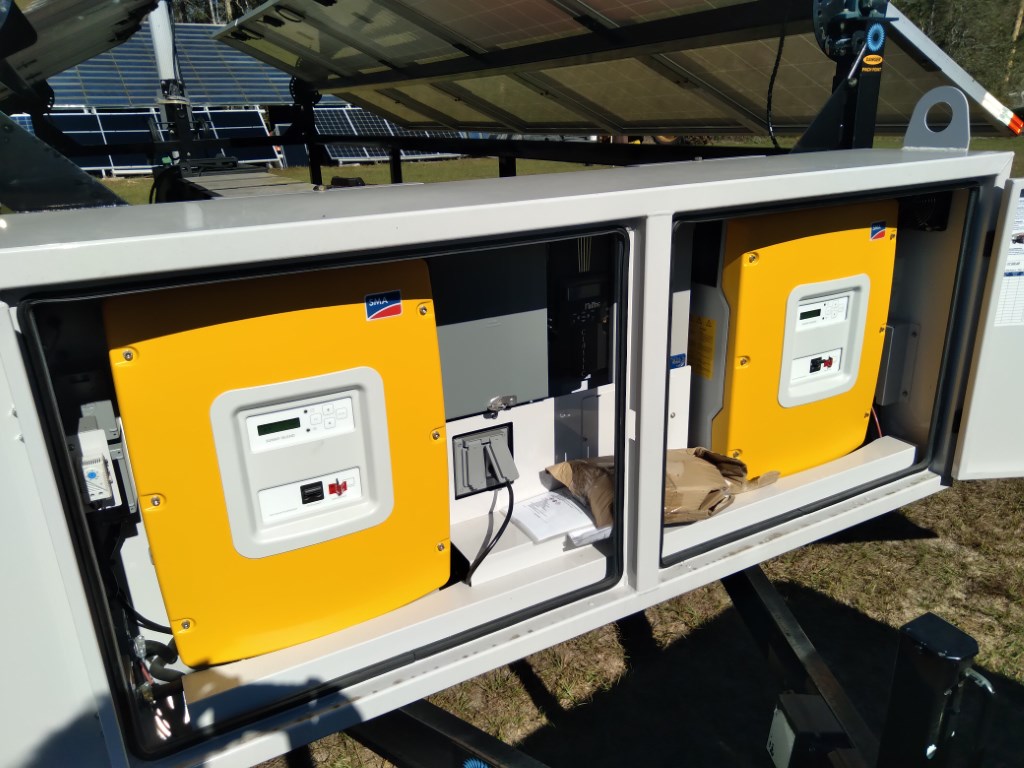
I have not forgotten you. I’ve been upgrading my own system, while hot rodding one of my solar powered electric farm vehicles, getting Turbo Beast stuck on archæology expeditions, cleaning up hurricane debris and goofing off when possible. I have another kilowatt of solar connected and 1500 watts more waiting for a mounting rack. The […]
Various and Sundry Items Read More »